I’m such a dumbass. Good point - big hole to get the screw in and then smaller one. Problem solved!
1 Like
Even better. That’s a tumble dryer so when on heats the garage lol. (Top one is broken and soon to be removed… I ran out of space in the skip!)
1 Like
Obviously do it at the ends and if you need to do a central one drill below the grind line.
Here’s what I mean . The red line is the level you should be drilling at.
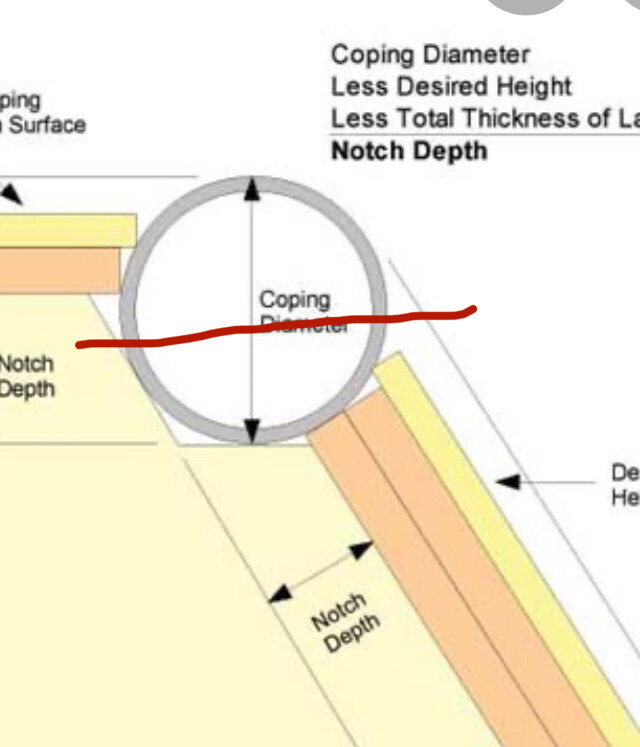
Setting coping right is like a dark art that only few people can get right
1 Like
Where coping is concerned I’m bloody picky. And my woodworking skills are akin to a toddler if it involves anything more than simple cuts and screws. I want it to stick out a little in to the ramp but stand a bit higher on top in a bid to get that ‘rock’ on and off the rails. I therefore put a strut right across the top that the coping sits on - separate to the transitions top strut and the platforms first strut. Thinking being I can simply unscrew and raise this strut up or down. If it sticks out on to the riding surface to far I can move the platforms strut to roll it back. ‘Hopefully’ a super simple way alter its positioning - see how it goes!
It’s defo a simpler idea , just remember the more you keep changing the height you’re potentially going to be going into old screw holes if you are doing slight adjustments. Should be fine if you get it how you want it first time.
If not I’d recommend that If you want to raise the height or how much you want the coping to stick out from the frame in different amounts, I’d get some strips of 6mm ply packers cut. approx 30mm x the length of your coping.
Work out how much you want the coping to stick out and screw them to your coping frame and re attach the coping .
You can do this the to back timber too .
As shown by the red lines here.
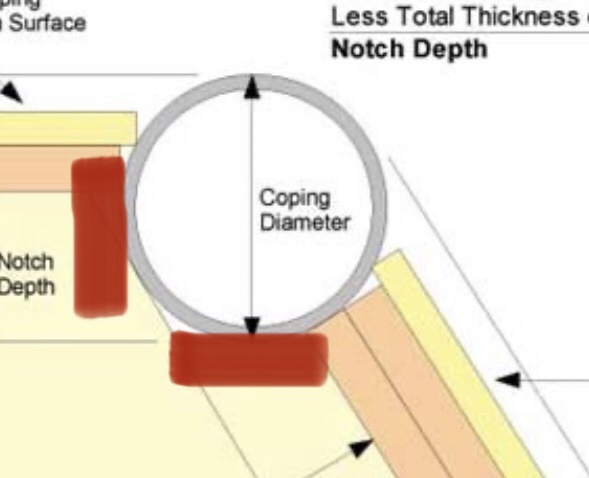
You can use offcuts the same thickness as your three layers (Before they go down) and then a 6mm offcut on top.
Same for the platform side.
Keep it flush. Mark all your drill holes that way.
That way, without the 6mm offcut, your coping is set perfectly the entire width.
Or maybe I’m just jumping in way too late on something already answered?
Never too late to add something to this thread! I think any idea with regards to coping is worth having given its position can sometimes make or break a ramp.
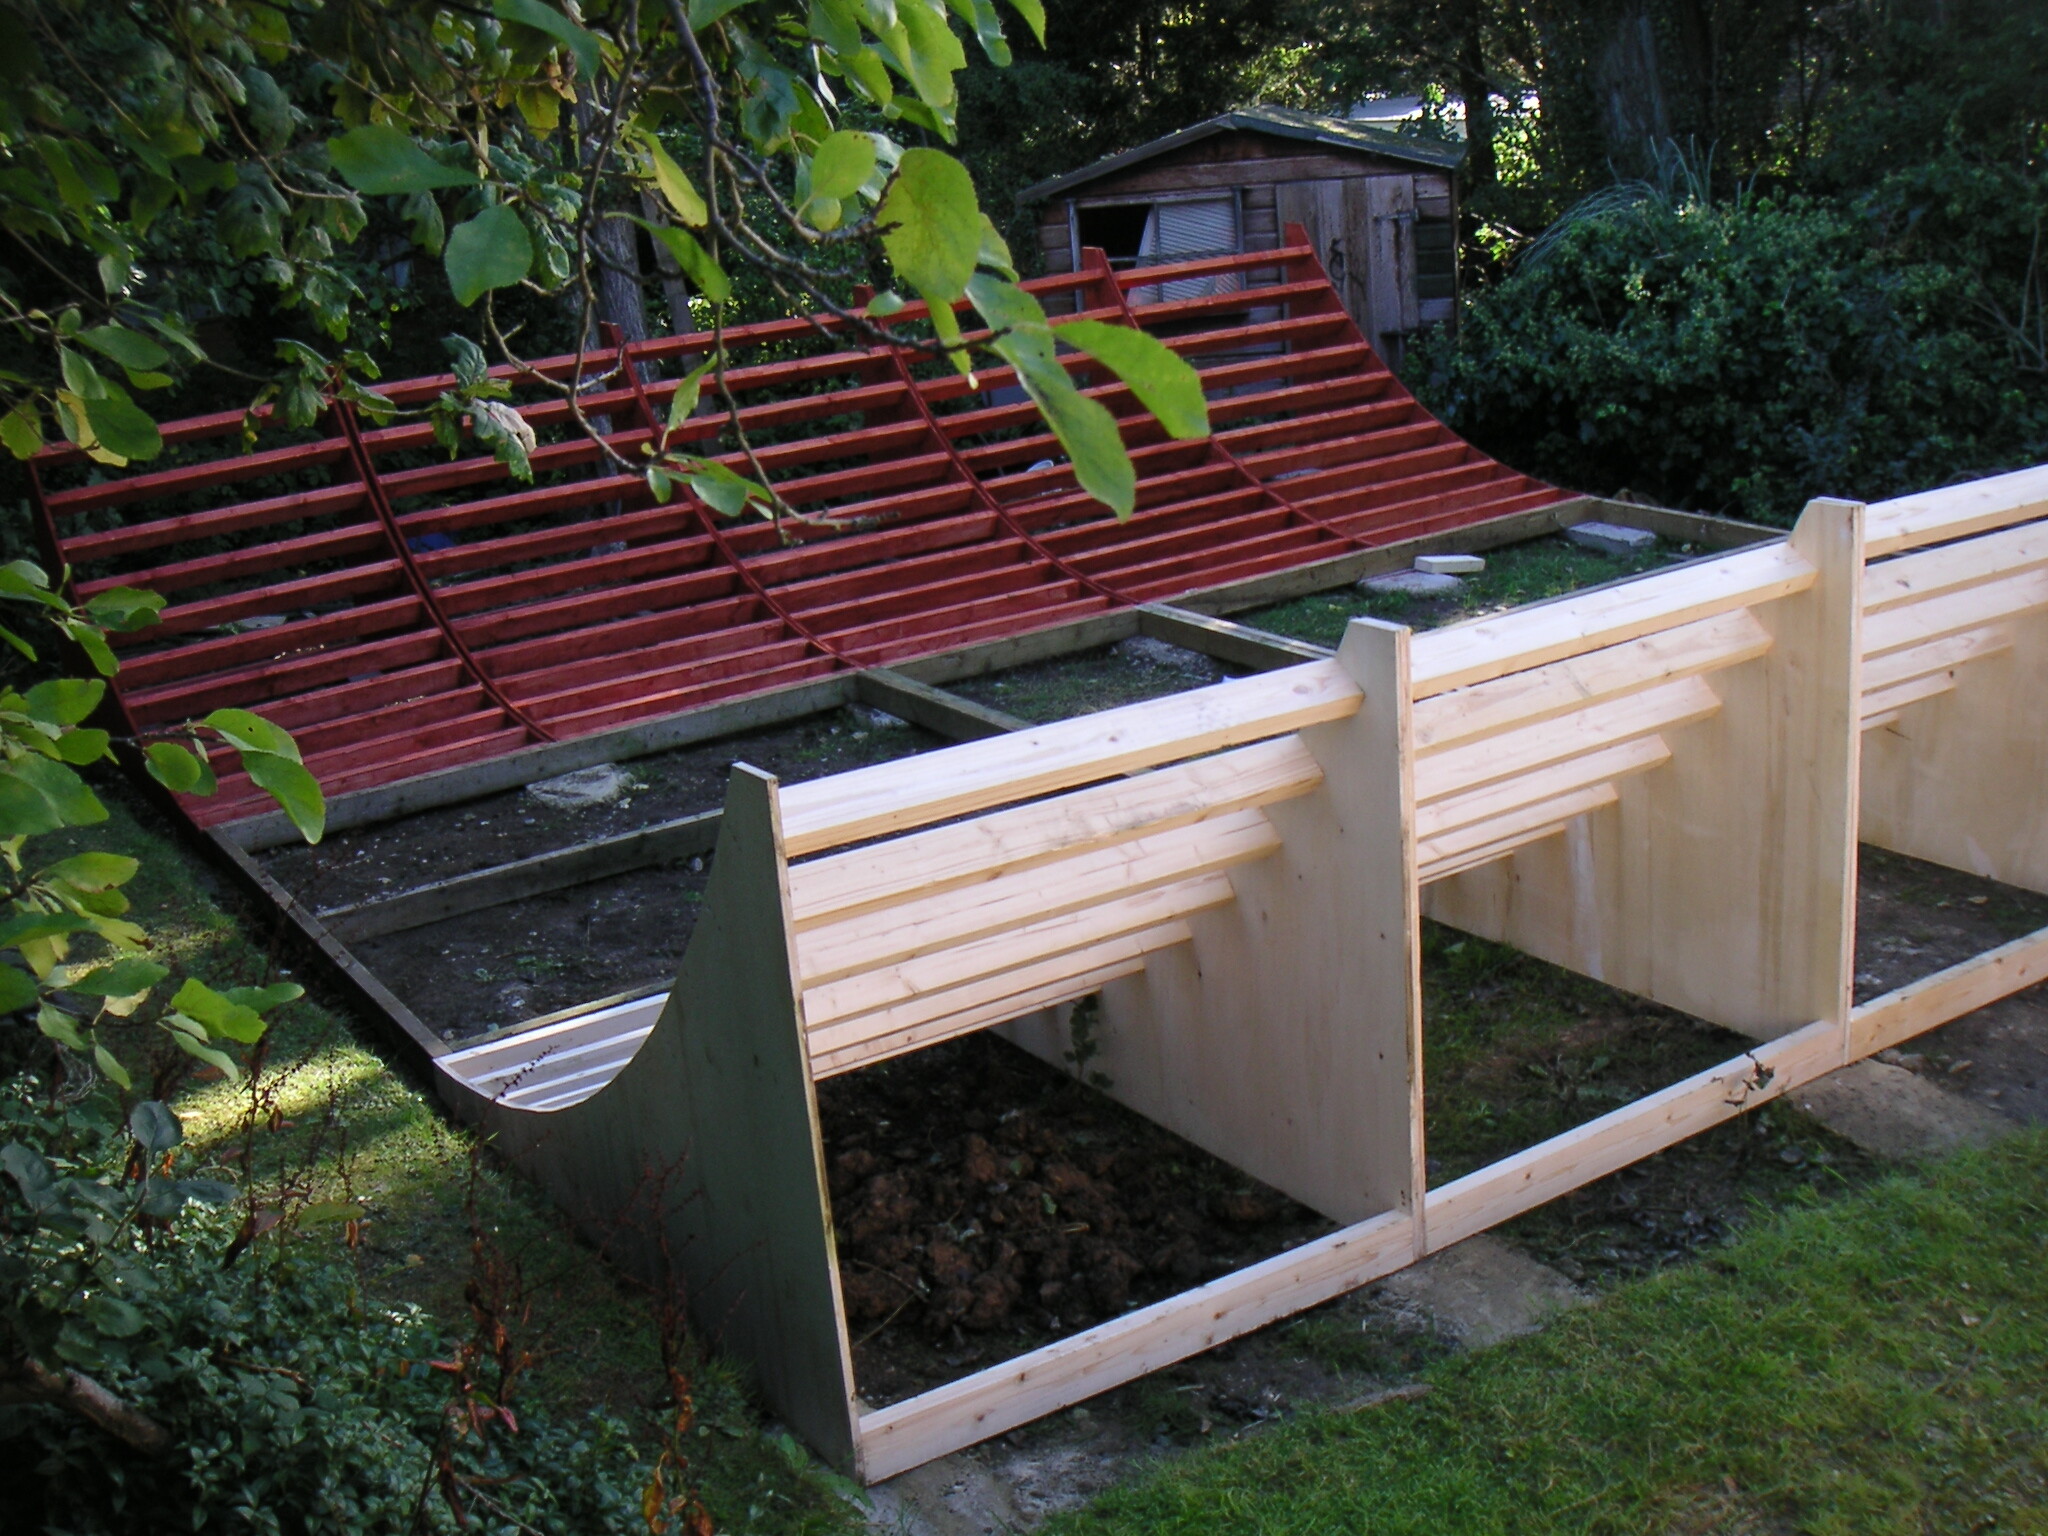
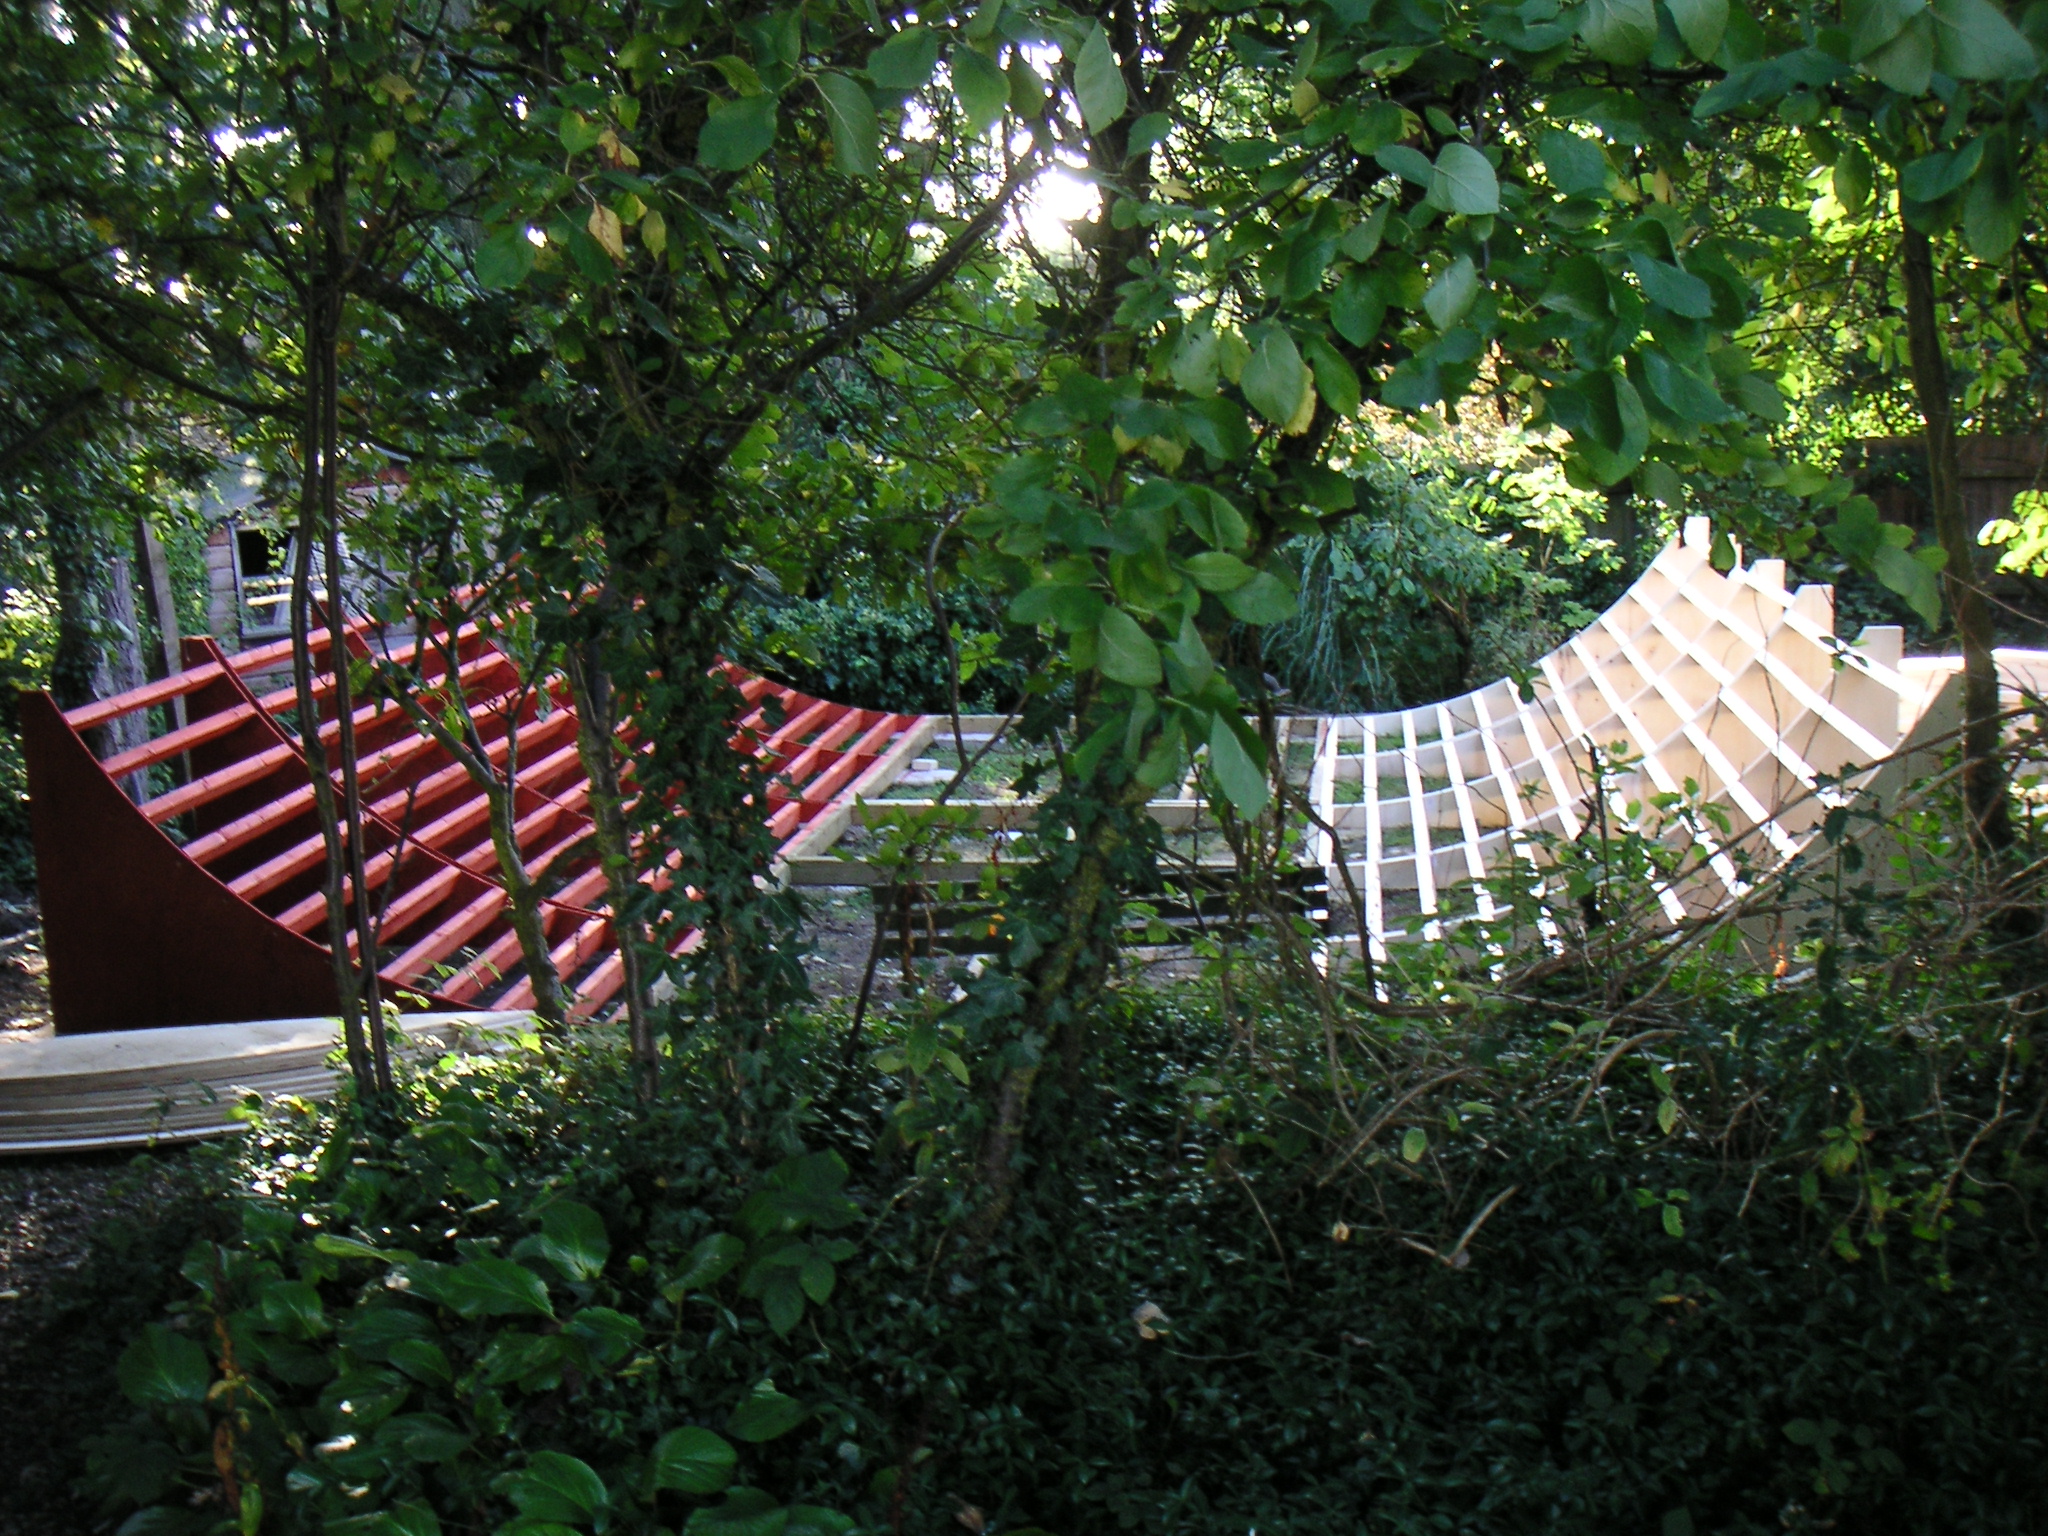


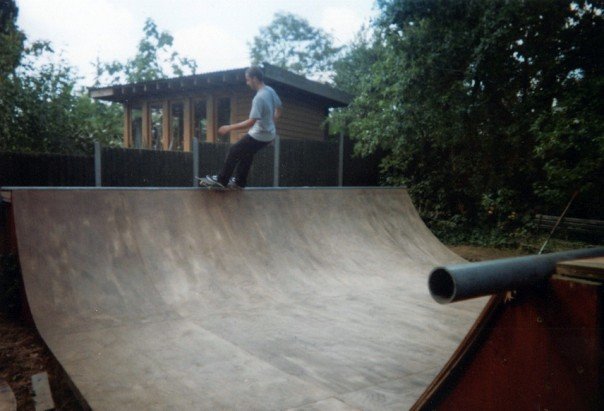
Wow. That’s… Beautiful. Is that in someone’s garden?
It was in my friends Remys.
But he is useless with power tools, so the only thing he was in charge of was Bacon Sandwiches and Tea while myself and two friends built the thing. He was killer with his role, tbh.
That ramp was perfect, too. Good width and not a lump in the tranny at all.
It was based off of the old/amazing Bay 66 mini ramp but a tiny bit tighter.
Edit: We all chipped in. Sadly now gone…the family moved out with very short notice. No time to sort anything to grab it, really.
3 Likes
That’s a nice ramp and setting.
1 Like
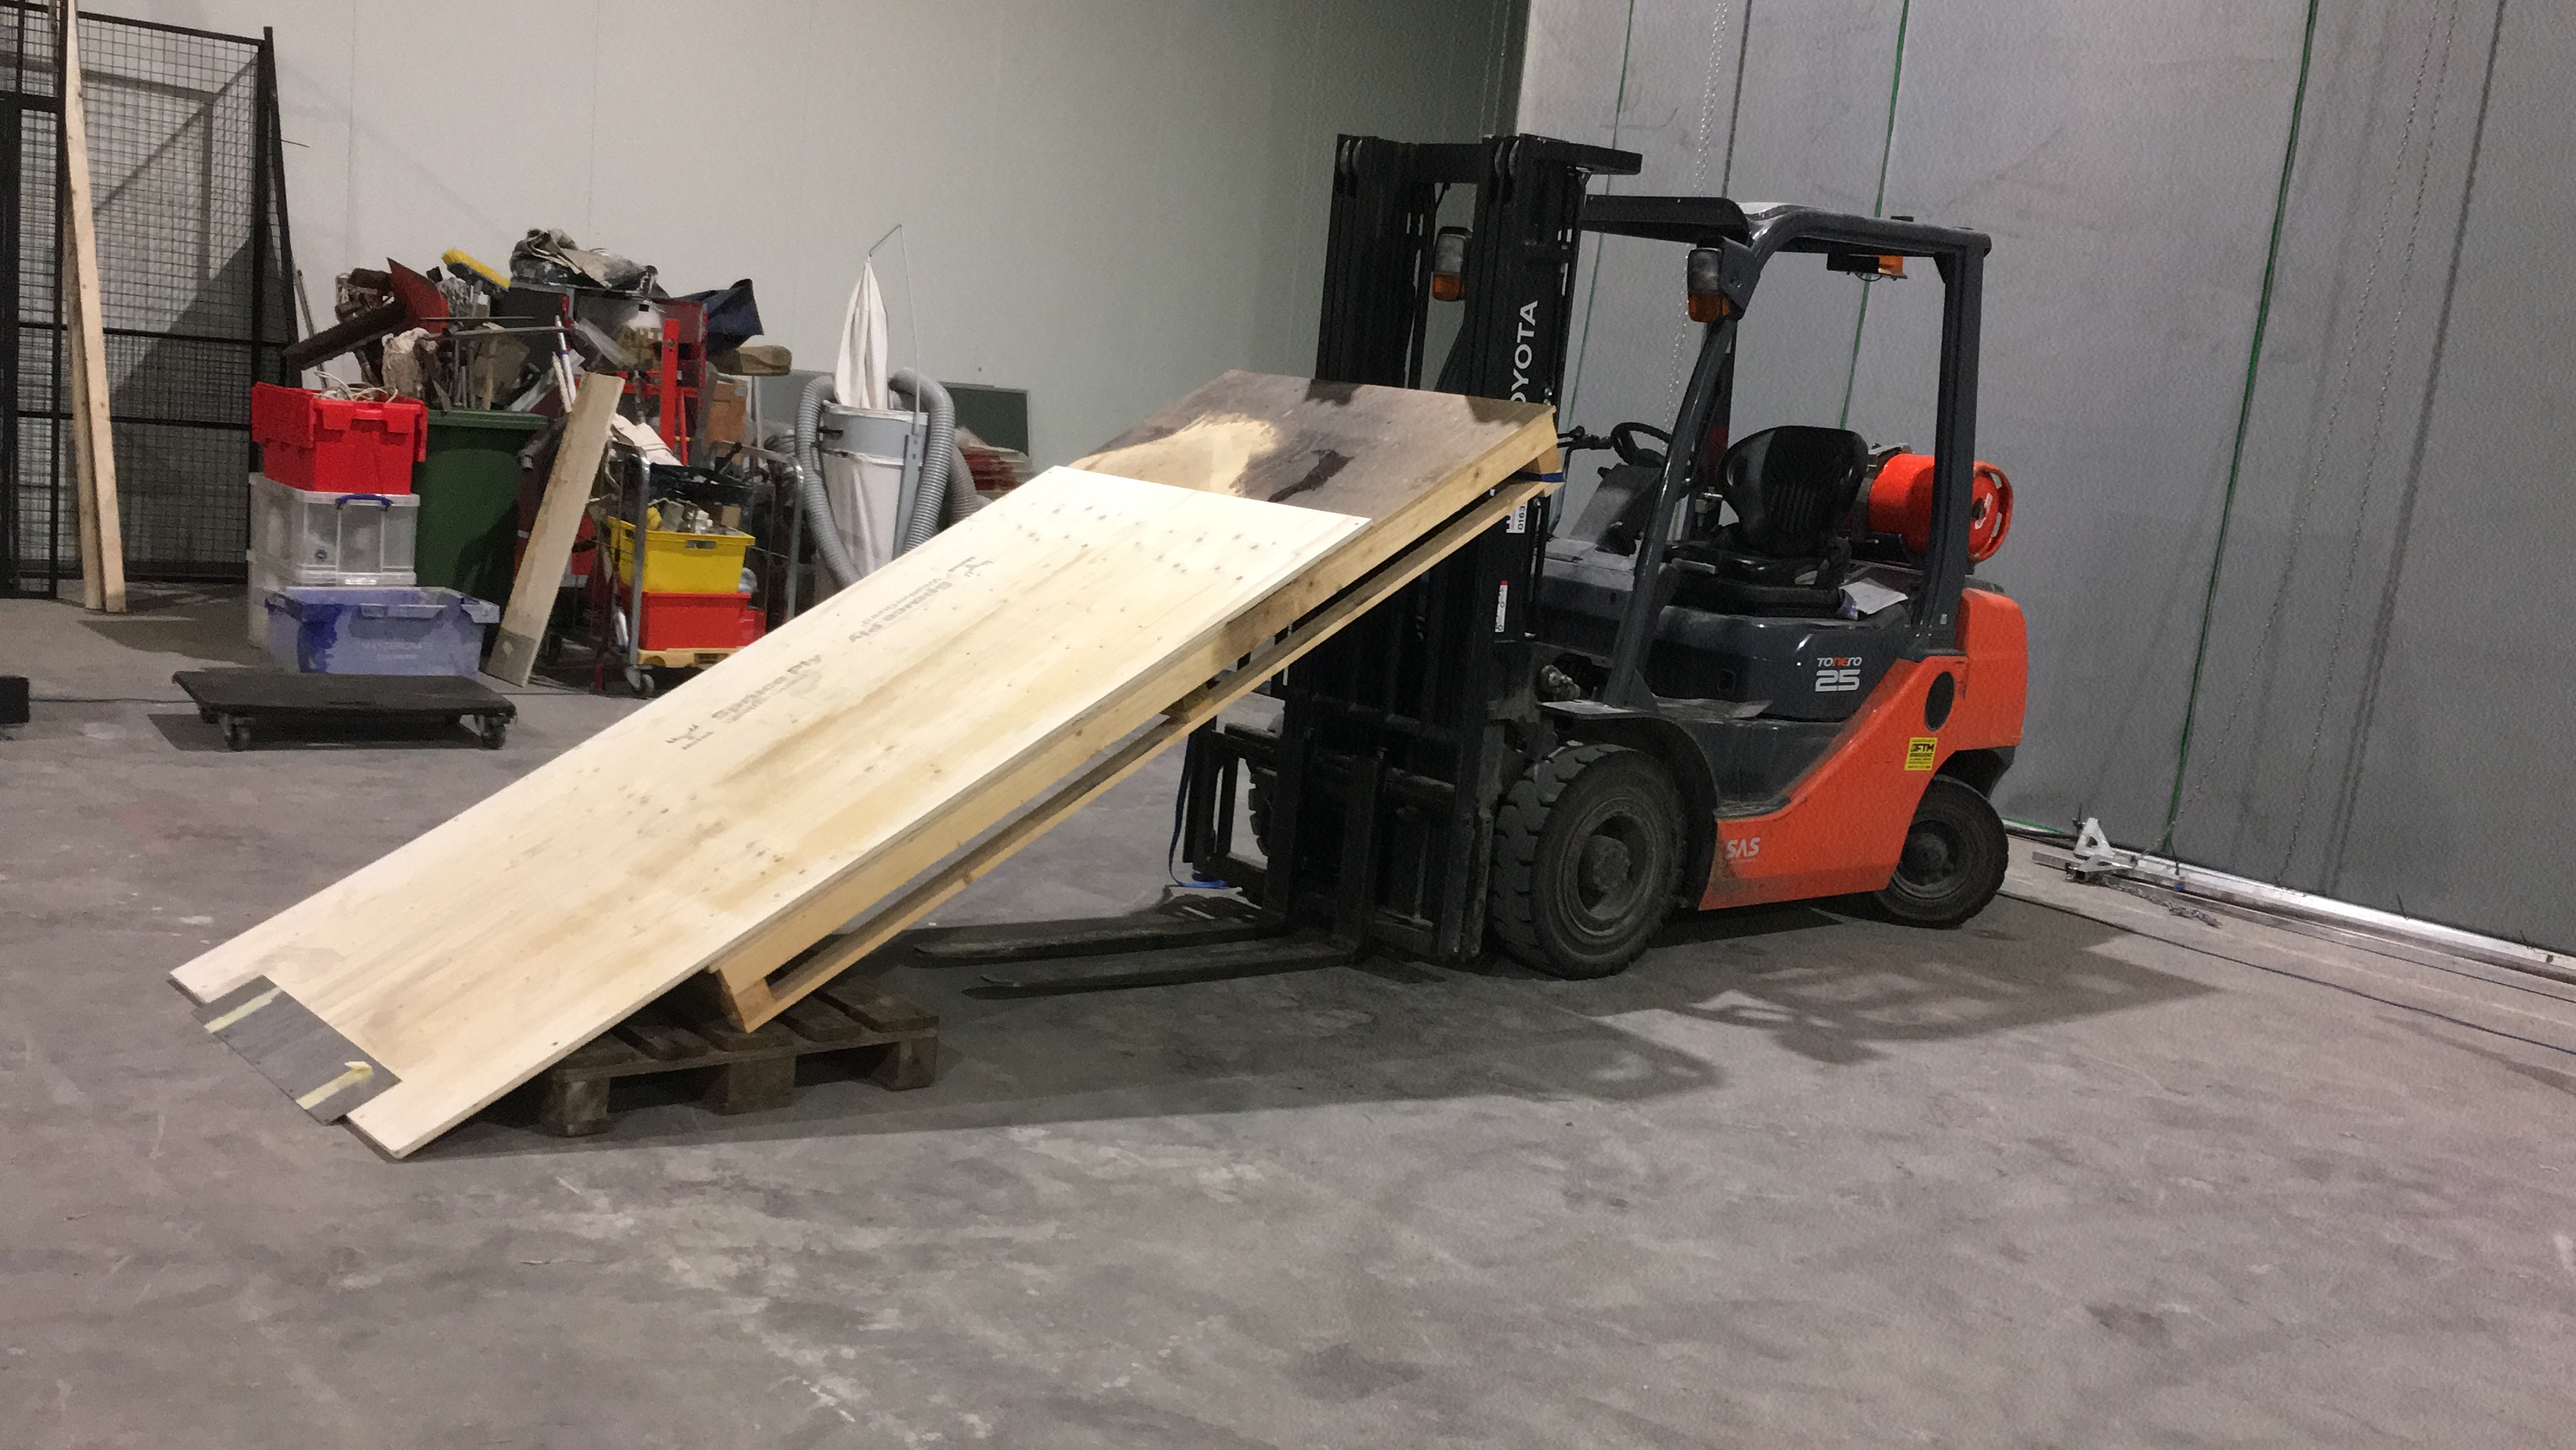
Been asked to build a flatbank and quarterpipe for someone, which will have some 3mm metal plates at the bottom. Any advice on the best way to skin the ramps and achieve the 3mm gap for the metal to sit in? Usually would use 2x9mm sheets so I’m thinking
a) do that and plane 3mm out of the top sheet (not too keen on that)
b) skin it with 3 layers - 9mm, 6mm, 3mm (seems a bit OTT)
Is there a better way?
1 Like
How wide will they be? I’d think of option a. But might be tricky to get it nice and flush across the whole thing. (Also, I’d definitely fudge that up and have either a big lump or soggy hollow under the metal.)
You dont need 3mm and you don’t need to plane back the top sheet.
I used this on my diy flat bank and its 1mm stainless . You can get 1.5mm or 2mm and use that . You won’t notice it rolling up and down.
You should be able to countersink it with the top sheet combined to flush the heads . If not grind them back a little.
1 Like
Thanks both. They’re not wide, between 4-6ft. I’m trying to avoid planing as I hate it and suck at it. @Chopper thing is I’ve already go the metal so don’t really want to get more, although 3mm sounds quite thick actually. Maybe it’s less I’ll take a look
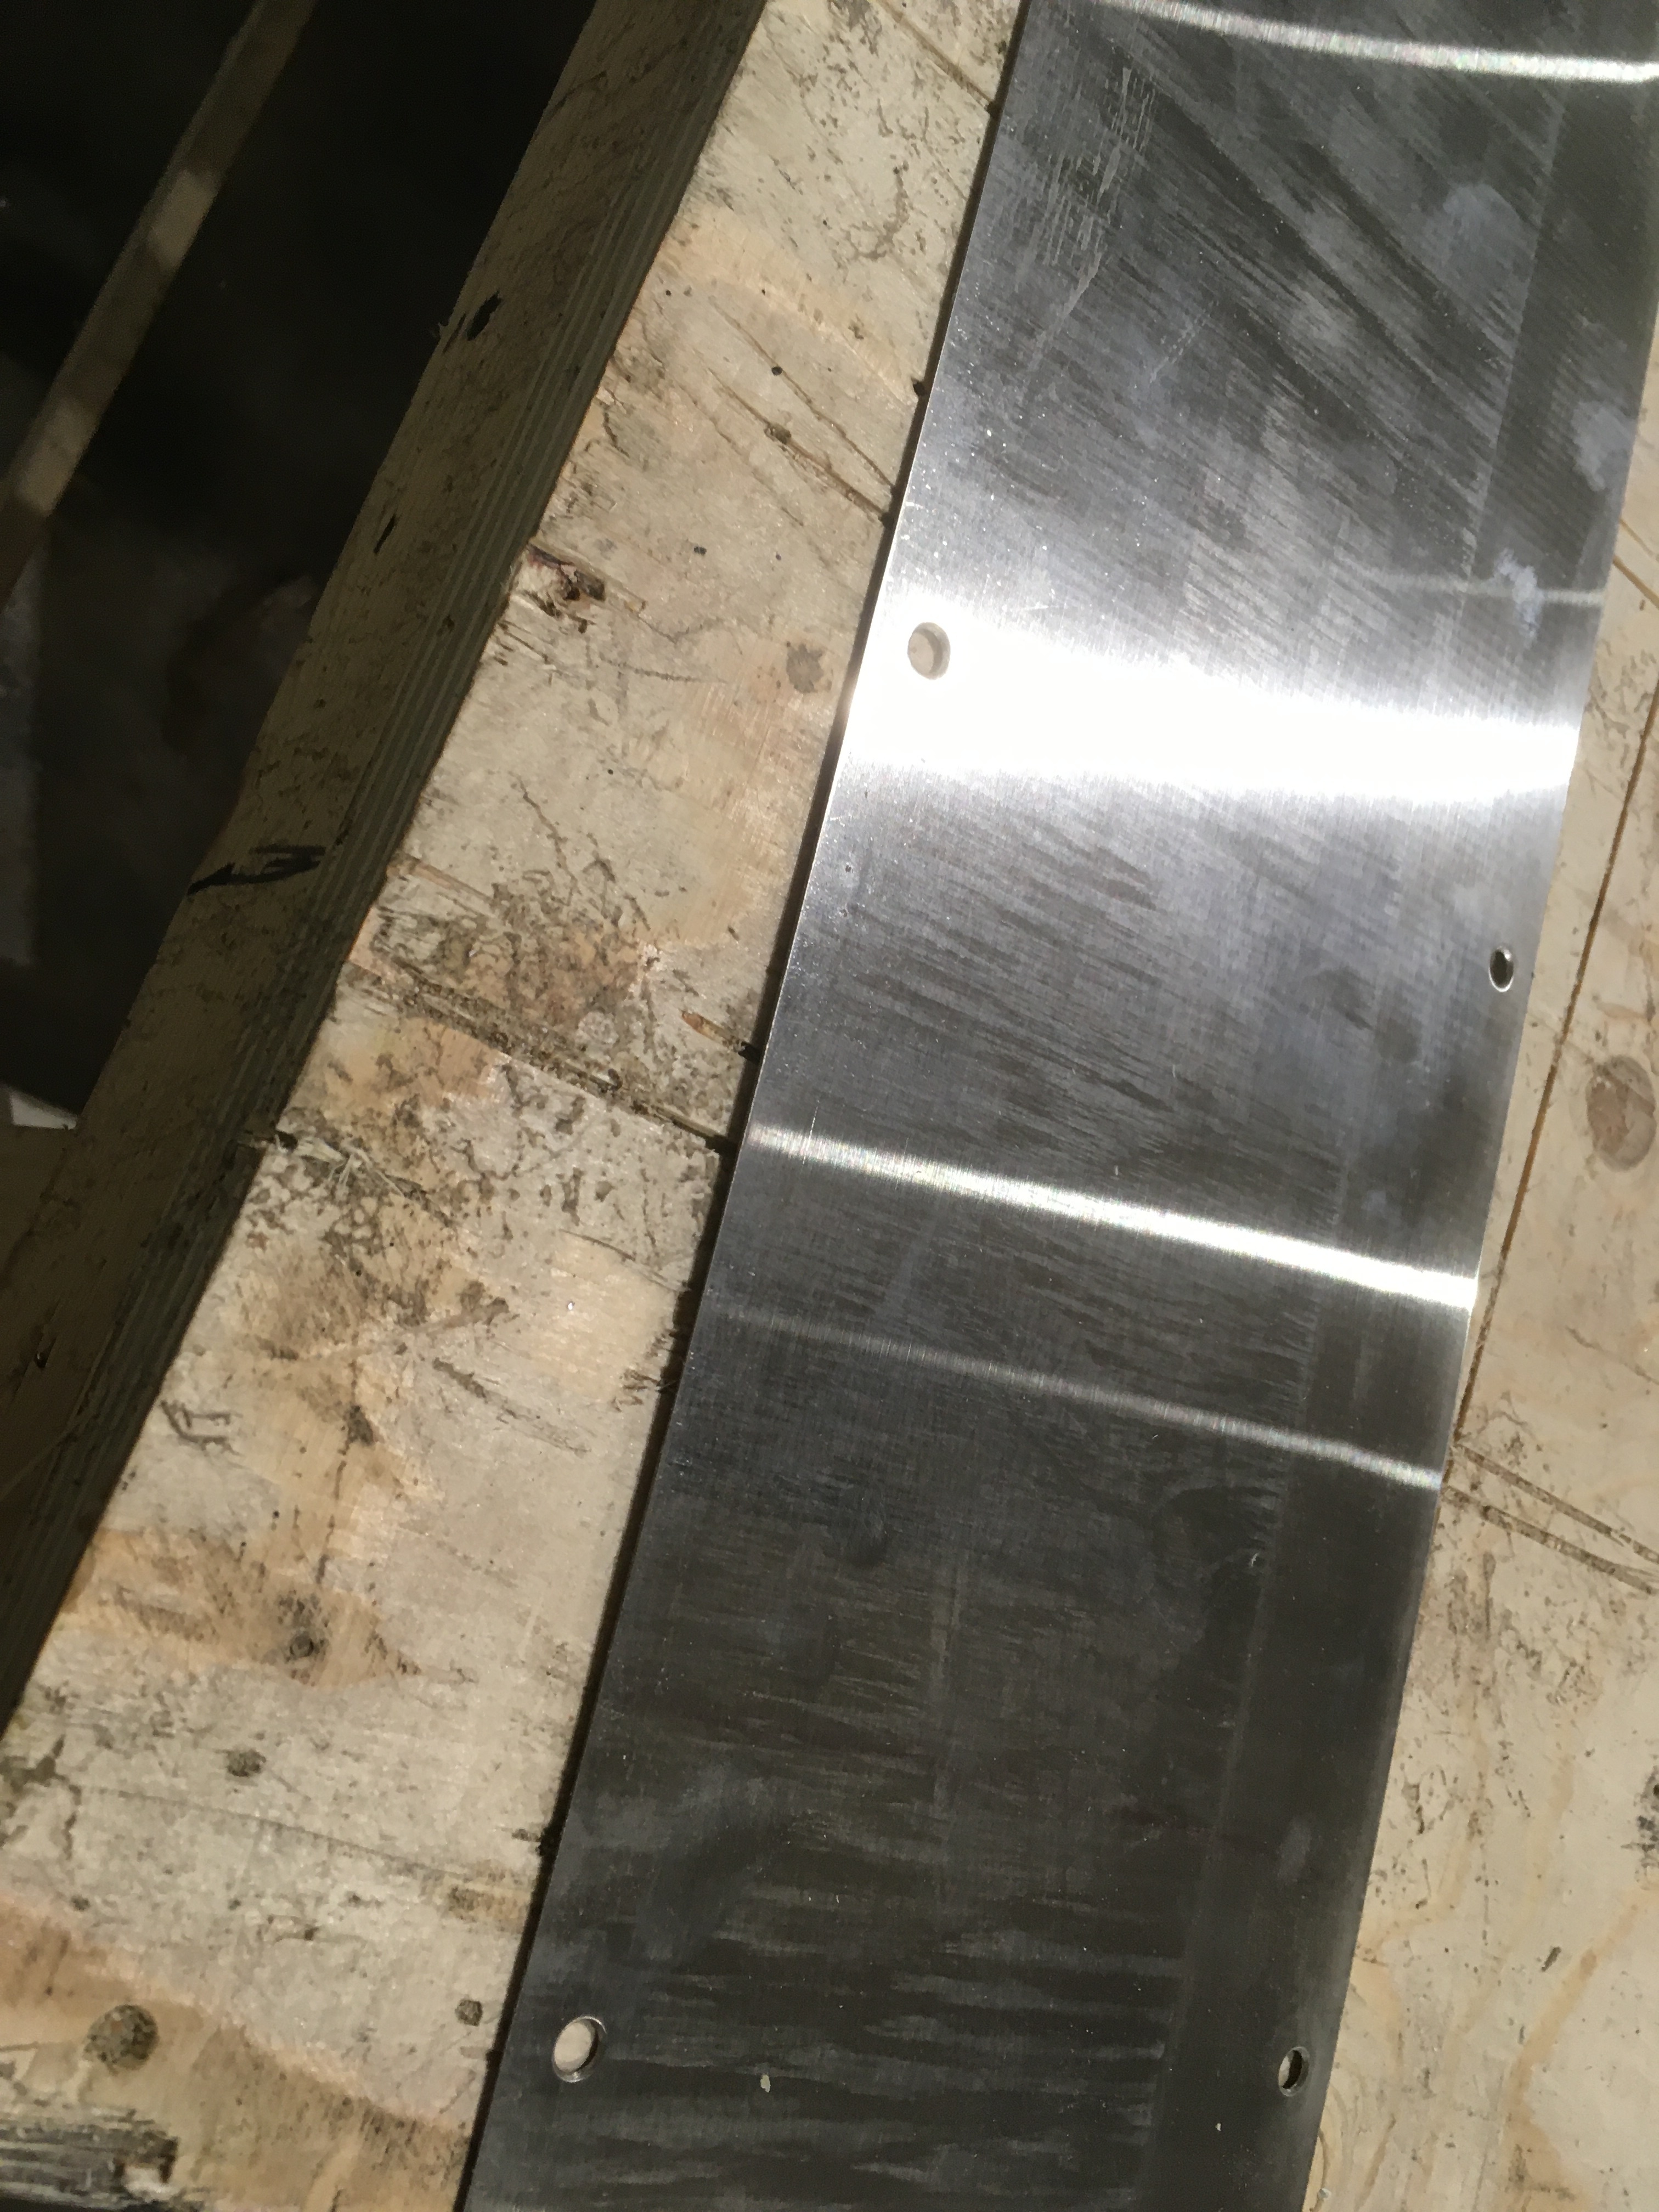
Ah ok,
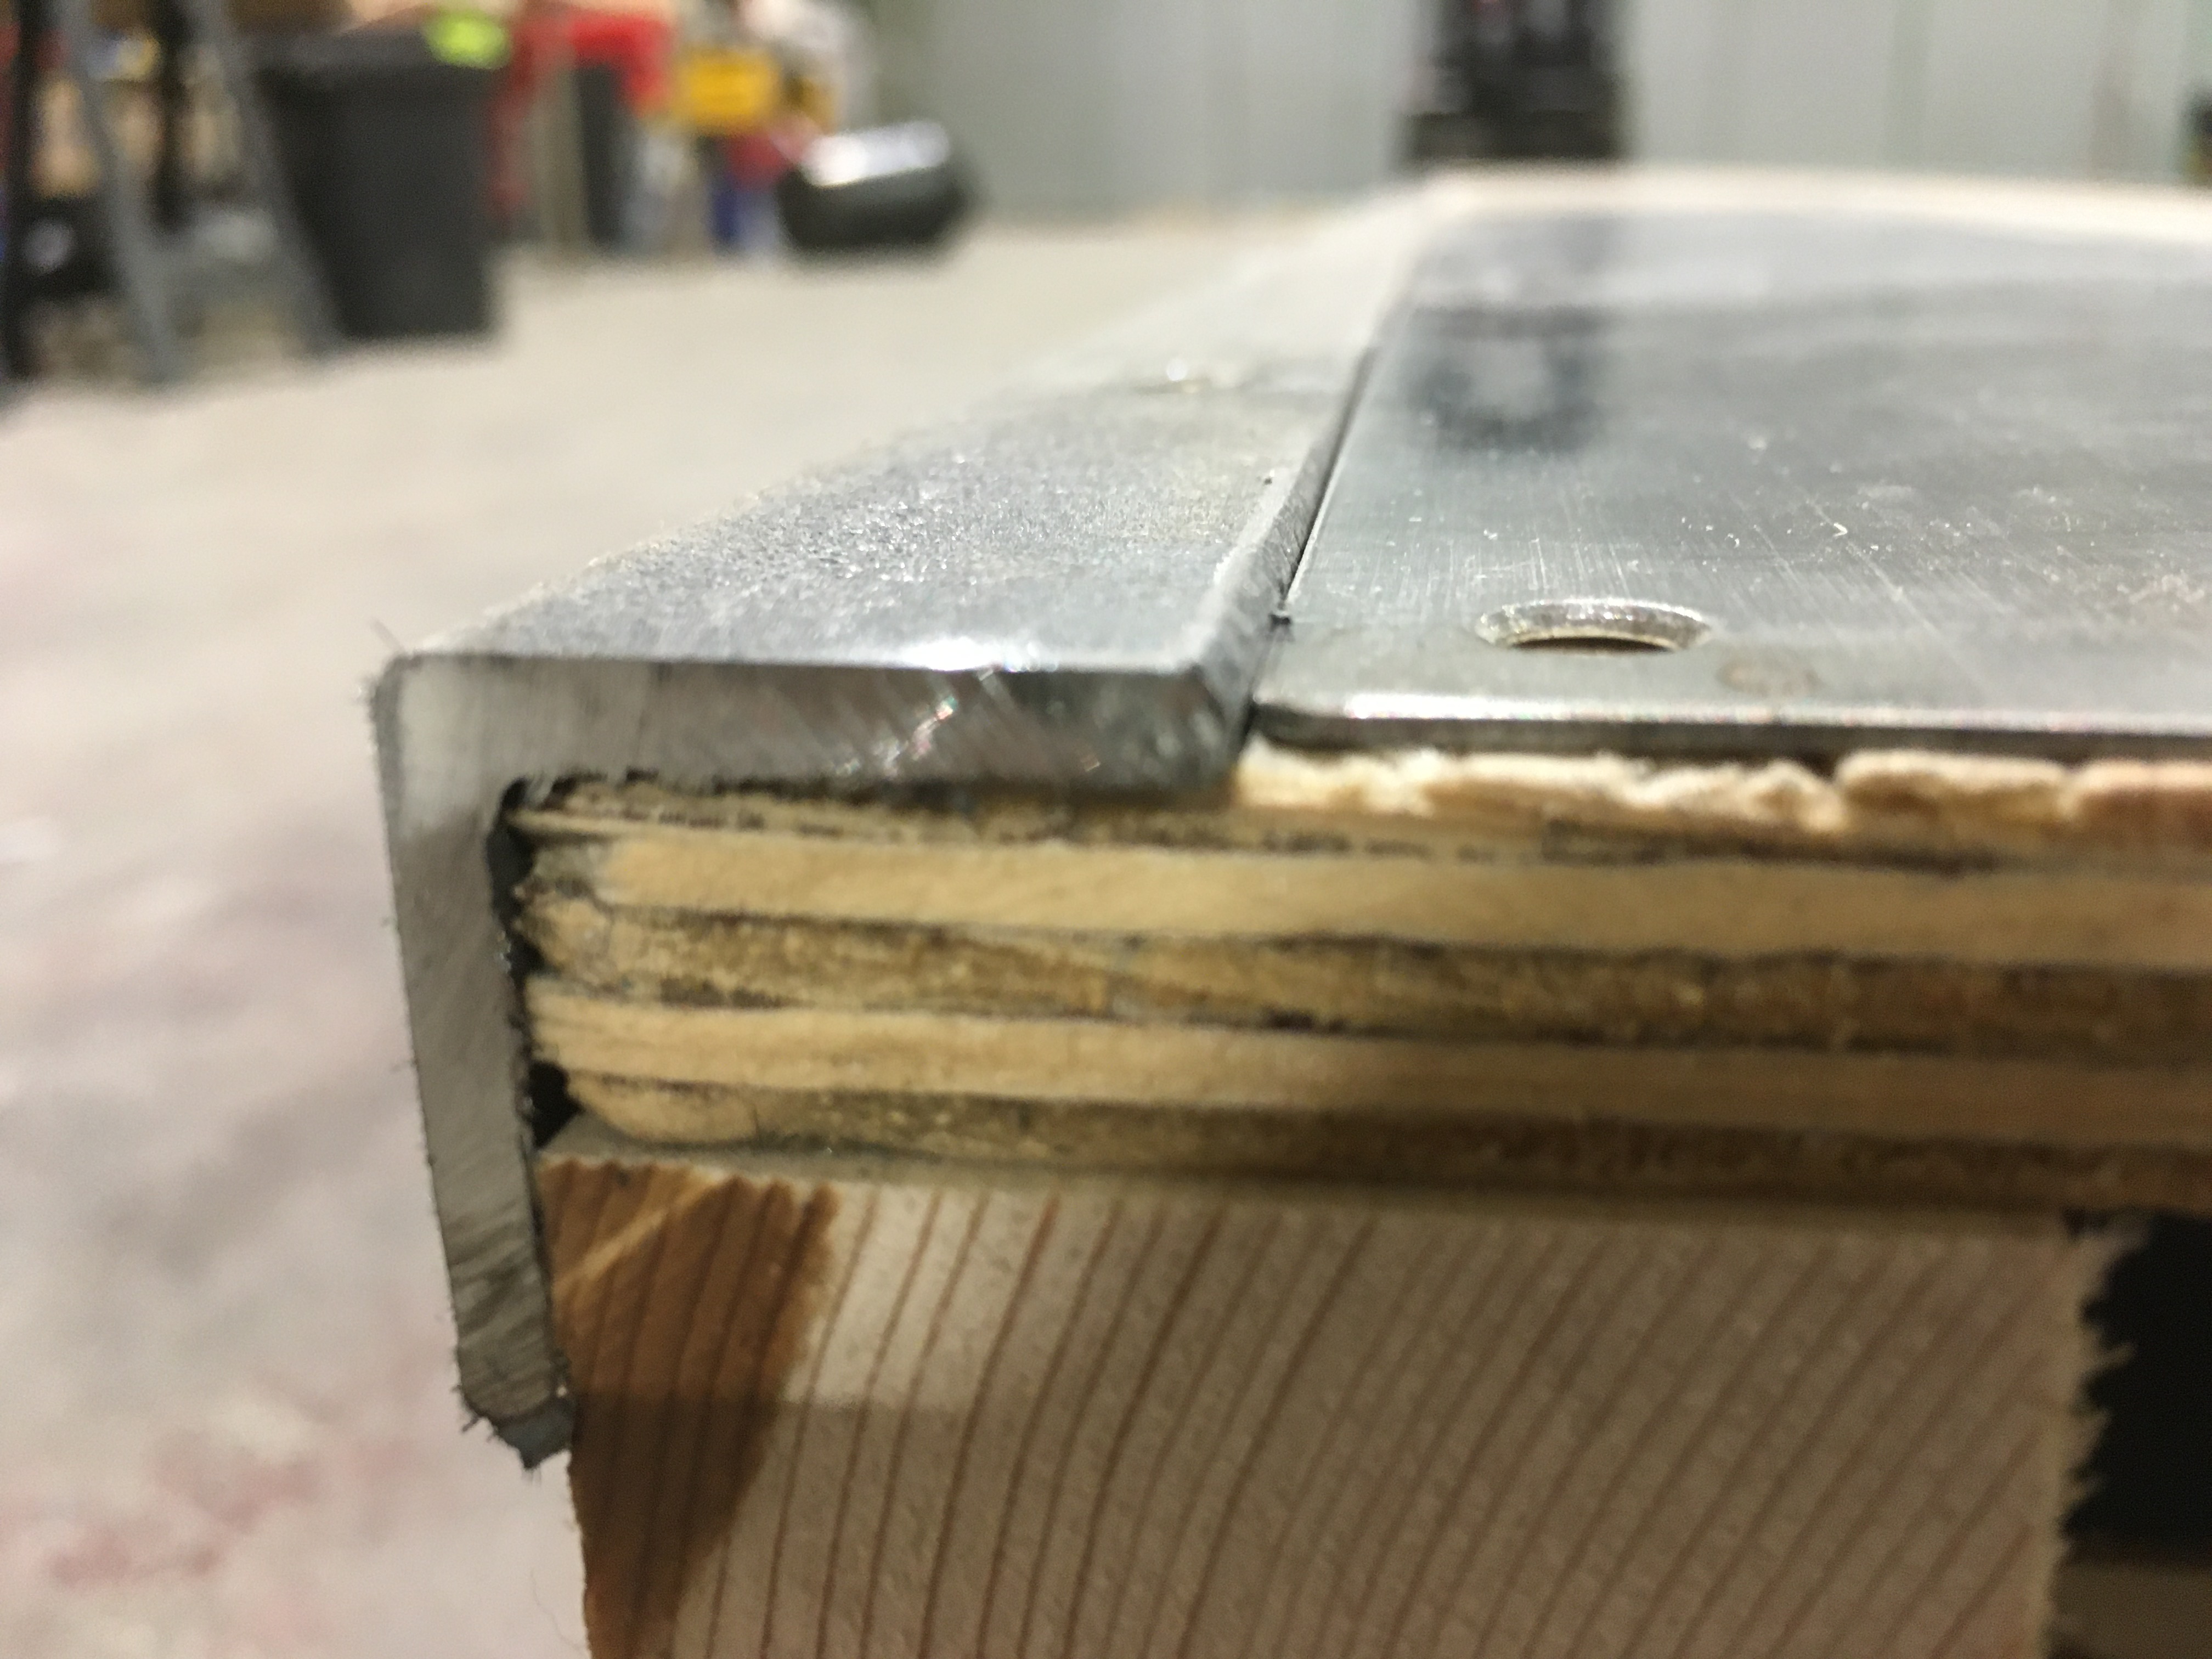
That’s 3mm angle next to 1mm stainless.
Maybe grind back the 3mm to 1mm on both edges . Take the grind back about 40mm . That will be a good option that means not planing the wood .
1 Like
Use a router and get it perfectly flush, then you won’t get crazy delams when the boards slides down the bank upside down.
Yeah actually this is the best option. ![]()
The wood arrived! Figured I’d just go out and enjoy the new wood smell… then broke out the screwdriver and set about whacking a couple sheets down to get an eye for the transition. I like it. Might be lucky with the coping too when the top sheet goes on. So far so good; I’ve surprised myself at how straight it all is. As more goes down I’ll add how it goes and what if any problems I have.

8 Likes